
How to Clean Hair Clippers: A Simple Guide for Barbers and Home Users
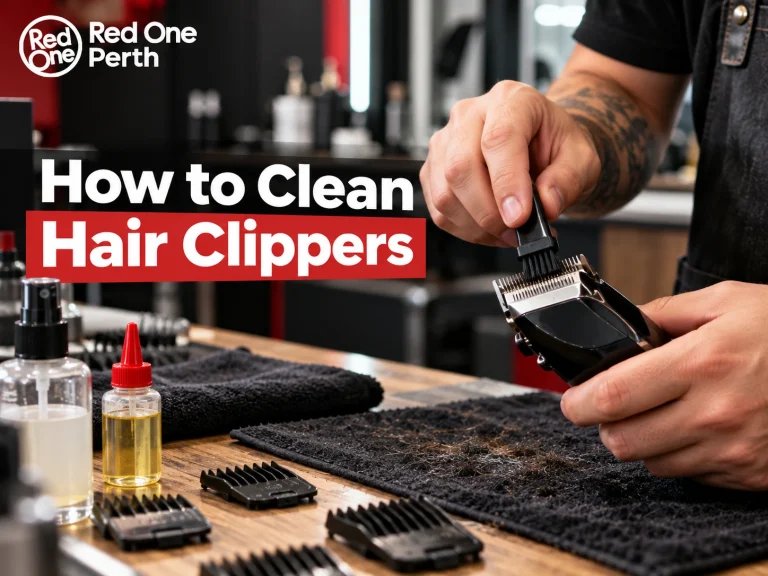
Table of Contents
You finish a haircut, tap the loose hair off the blades and toss the clippers in a drawer. A week later, they start pulling hair, running warm and making a rough noise. It’s a common problem, and more often than not it comes down to dirty or dry blades, which a short routine can fix.
To clean hair clippers, switch them off, brush out the loose hair, wipe the blades with alcohol, let everything dry, add a few drops of clipper oil and store them somewhere dry.
This guide walks you through each step, how often to do it and the mistakes that wear clippers out early. It suits home users and barbers, and the same routine works for trimmers.
Why You Should Clean Your Hair Clippers Regularly
Hair is only part of what collects inside your clippers. Skin flakes, natural oils and styling products like wax and pomade build up as well, and together they make the blades drag. You then get more heat, more noise and more hair pulling, and the blades wear out sooner. Blades that stay damp can also rust.
Hygiene matters too. The Western Australia Department of Health says unclean hairdressing tools can pass on skin infections such as impetigo and tinea, and that a small nick from clippers carries a low but real risk of blood-borne infection. Its hairdressing guideline recommends that barbers clean electric clippers after every client. That’s guidance rather than law, but it’s a sensible habit at home as well.
It helps to think of cleaning, disinfecting and oiling as three separate jobs. Cleaning removes hair and gunk, disinfecting reduces germs on a surface that’s already clean, and oiling keeps the moving parts running smoothly. Skipping one makes the others less effective.
How Often Should You Clean Your Clippers?
| How you use them | How often to clean |
| Barber | After every client |
| Home haircuts | After every haircut |
| Heavy use, at home or in a shop | A full deep clean every 1 to 2 weeks |
The deep clean timing is a common suggestion from clipper makers for people who use their clippers a lot. Some makers go further and say that skipping regular cleaning and oiling can void the warranty, so it’s worth checking your manual.
What You Need to Clean Hair Clippers
You don’t need much. Keep the small brush that came with your clippers, a soft cloth, 70% isopropyl alcohol and some clipper oil close by. Compressed air is handy for hair you can’t reach, and a clipper spray is optional. If you’re putting a kit together from scratch, our guide to barber tools for beginners covers the basics.
Hair Clippers Cleaning: Step by Step
This routine suits most clippers, but your manual always comes first because models differ.
- Switch off and unplug
Unplug corded clippers, and turn cordless ones off before you touch the blades.
- Remove the guards
Slide the guards off and wash plastic ones in warm soapy water, then dry them fully. If one is cracked or worn, you can browse clipper guards for a replacement. Only remove the blade or cover if your manual says you can, because on many models a plate held by screws covers hair you can’t reach any other way.
- Brush out the loose hair
Use the brush between the teeth, around the hinge and along the edges of the housing. A few short bursts of compressed air will clear hair you can’t reach, but avoid poking anything sharp between the teeth.
- Wipe off buildup
Wipe the body with a cloth dampened with water and a drop of detergent, or with a little alcohol, which helps lift wax and pomade. Keep the vents free of hair and never pour water onto the clipper.
- Disinfect the blades
Wipe the blades with a cloth or cotton bud dampened with 70% isopropyl alcohol. There’s more detail on this in the next section.
- Let everything dry
Let the blades air dry completely, because damp blades rust. Don’t put a clipper in water. The WA Health guideline notes that fixed blade clippers can’t be immersed, so unless your manual says a model is washable, treat it as one that isn’t.
- Oil the blades
Add oil once everything is dry. The method is covered in the oiling section below.
- Store them properly
Check that the blades are clean, oiled and lined up, then put the clippers in a case or pouch somewhere dry. A humid bathroom isn’t a good home for them.
How to Disinfect Hair Clippers
An alcohol wipe is the simple baseline. It’s what the WA Health guideline lists for clippers after each client, and it’s easy to do at home. Clean the blades first, then wipe them. Dampen the cloth rather than soaking it, since liquid that seeps into the motor housing can damage the clipper.
If a clipper nicks someone’s skin, treat it as contaminated. The guideline describes cleaning the tool with detergent and water, drying it, and then soaking it in 70% alcohol or a hospital-grade disinfectant, following the label for contact time. Fixed blade clippers can’t be soaked, so check what your model allows.
Sprays are another option. Andis Cool Care Plus lets you clean the blades without taking them off the handle, helps prevent rust and keeps the blade cool. Clippercide spray is another spray made for barbers. Sprays differ, so read the label to see what each one does, how to use it and how long to leave it on. A spray doesn’t replace oil, so oil the blades afterwards.
How to Deep Clean Hair Clippers
A deep clean reaches the places a quick clean misses, but only go as far as your manual allows.
- Switch the clipper off, unplug it and remove the blade or cover if your model allows it. Some need a small screwdriver, and others have a magnetic cover that pulls straight off.
- Brush out the hidden hair and use compressed air on the moving parts.
- Clean the blade and its holder. Some barbers use a blade care product such as Andis Blade Care Plus at this stage, and the directions on the pack will tell you how.
- Dry every part completely.
- Put it back together and check the alignment. The top blade should sit slightly inside the bottom blade on both sides, because if it hangs over at the corners it can nick skin.
- Oil the blades, switch the clipper on and listen. If you hear rattling or feel shaking, switch it off and check the assembly again.
On cordless models, keep the battery area and charging contacts dry and brush carefully around them. If your clipper has fixed blades, stick to brushing and compressed air.
How to Oil Hair Clippers
Oil cuts friction and heat, which helps the blades last longer. Always clean first and oil second.
- Hold the clipper with the blade pointing down.
- Add the number of drops your manual asks for. Instructions vary, from one or two drops to three along the top edge and one at each end.
- Switch the clipper on and let it run for about 10 seconds so the oil spreads.
- Switch it off and wipe away the excess.
Timing also varies. Some makers suggest oiling before each use and after each clean, while others say after every use, so follow your manual. If you’re unsure, oiling after every clean is a safe habit.
The best oil is usually the one your clipper’s maker recommends, and Wahl Clipper Oil and Andis Clipper Oil are two common choices.
3 Common Mistakes That Wear Clippers Out Faster
- Using a cloth instead of a brush. A cloth tends to push hair further into the housing, while a brush pulls it out.
- Cleaning while the blades are hot. After a long cut, give them time to cool before you wipe or spray.
- Adding too much oil. Extra oil attracts hair and dirt, which clogs the blades again, so a few drops is enough.
Signs Your Clippers Need Cleaning
Your clippers will usually tell you when they need attention. Cuts get uneven or the clipper struggles, you hear loud or rattling noises, the power cuts in and out, the lever feels loose, or the blades run hot and stop cutting well.
Hair pulling and hair packed behind the blade are other clues. If a proper clean and oil doesn’t fix the problem, the blades may be worn or damaged, and that’s when replacement clipper blades make sense.
Get Your Clipper Care Supplies at Red One Perth
A clean, oiled clipper cuts better and lasts longer. If you need supplies, Red One Perth is a barber and salon supplier in Yokine, and we stock the oils and sprays mentioned in this guide.
You can also browse professional barber clippers,trimmers and the full range of barber supplies on our website. Thinking about a new trimmer? Read our list of the best beard trimmers for men first.
Not sure which oil or spray suits your clipper? Call us or send a message and ask.
You can also reach us through our contact us page.
Frequently Asked Questions
Can you use WD-40 on hair clippers?
It’s not a good idea. Household oils either evaporate too fast to protect the blade or leave a sticky residue that gums up the moving parts. An oil made for clippers is the safer choice.
Can you clean clippers with vinegar?
Advice varies. Some guides say a 60 second soak is the limit, while others suggest 10 minutes. Vinegar is acidic and can harm metal with long contact, so alcohol is the simpler choice. If you do try vinegar, rinse the blades, dry them fully and oil them straight away.
Can you soak clipper blades in a barber disinfectant?
Guides disagree. Some soak detachable blades for about 10 minutes, while others warn that it can corrode the metal and cause rust over time. Follow the label and your clipper maker’s advice, and only soak blades that come off. Never soak the clipper body.
How long do clipper blades last?
It depends on how much you use them. Busy barbers often replace blades every 3 to 6 months, and home users can usually go much longer.